Hey y'all! I hope you had a great weekend! We spent our weekend working on a DIY kitchen refresh and I'm so excited to share how it turned out. My husband and I bought our house over 11 years ago and we have never liked the cabinets in our kitchen. The house was new when we purchased it but it was already finished when we bought it so we didn't get to choose anything. Well, not long after we bought our house, we had Julianna then 26 months later, we had Olivia so we just got busy raising babies. The kitchen went on the back burner and we invested in baby nurseries instead. Well, now that we have had more time at home, we have been busy getting unfinished projects completed. I say we, but mostly Josh. I'm the creative director! He's painted our upstairs hallway, the girls' bathroom, the laundry room, and he repainted our bedroom. This weekend, it was the kitchen's turn to get a refresh and he wouldn't let me sit out on this one! We tag teamed this project and we couldn't be more proud of how it looks now. We haven't stopped talking about it! Also, this refresh was super affordable. We spent under $200 for everything and that includes a couple of energy drinks that supposedly just fell into the shopping cart, according to Josh!
Below, you find the BEFORE picture. Our cabinets were a basic tan color. Everything in the room just felt very monochromatic with the tan floor and tan back splash. The kitchen gets good natural lighting but this room just felt dark to me. Now, let's answer some of your questions!
DID YOU SAND THE CABINETS FIRST?
No, we did not sand the cabinets. I think it's also important to note that our cabinets are not made of solid wood. They are cheap, man made wood and honestly, they aren't great quality. If we had a big budget, I would have totally replaced all of the cabinets but that's just not going to happen so paint was the next best thing.
DID YOU USE A PRIMER?
Nope! We didn't use a separate primer. We just cleaned the cabinets and went for it!
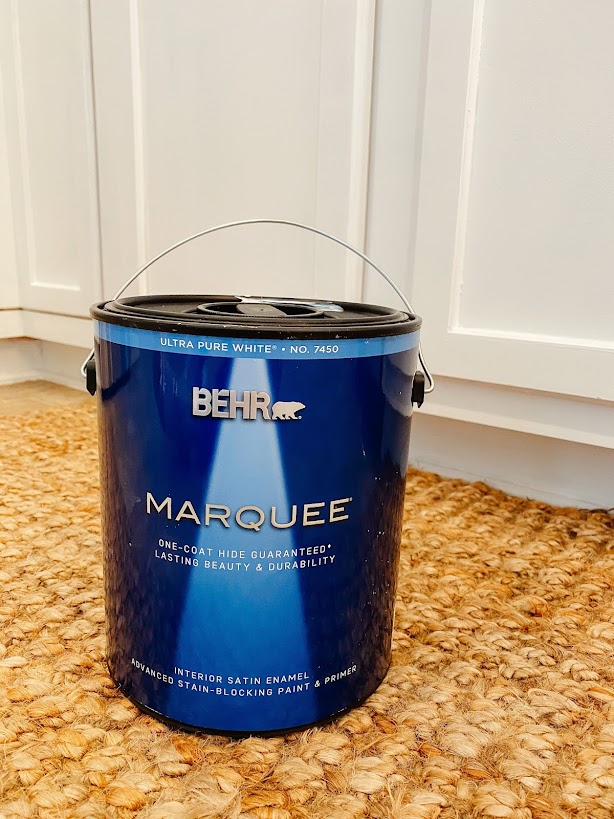
WHAT KIND OF PAINT DID YOU USE?
WHAT KIND OF FINISH DID YOU USE?
We went with a satin finish. One of our main requirements was that our cabinets be easy to clean and I personally didn't want a glossy finish so that's why we went with the satin. It was the finish that was also recommended for this particular project.
HOW MUCH PAINT DID YOU USE?
When we purchased the paint, we got one gallon plus one quart, just to be safe. We weren't really even sure how much it would take or even how many coats we would need to do. I would describe our kitchen as "medium size" because it's not huge but it's not tiny either. I have no idea the exact measurements but we have 21 cabinets, a bar, and 8 drawers. Everyone is super surprised to find out that we only use one gallon of paint for this project! When I went back to take the picture of the paint can, it actually wasn't even empty. We still have some paint left from the first gallon to do touch ups! I couldn't believe it myself! This is really good paint because we did a total of three coats (rolling) and then touch ups (brush).
HOW LONG DID IT TAKE TO PAINT?
Well, I've never painted anything myself (besides artwork or spray paint) and cabinets were a first for my husband as well. We didn't really know how long it would take to do the painting but all he knew was that he wasn't doing it alone! He removed the hardware and taped off the kitchen in advance but we did all of the painting in about eight hours on Saturday but that was both of us painting together.
WHAT PARTS DID YOU BRUSH AND WHAT DID YOU ROLL?
We started by rolling everything with a small roller. We got as close as we could and did three full coats with the roller. With the brush, we went back in to get the edges, corners, and small areas that we couldn't reach with the brush. We also used the brush to do some touch ups. We used a medium sized brush for the brush work. The smaller the brush, the better for getting the small areas. I personally liked painting with the brush better because it felt more controlled but rolling the larger areas helped us given even coats, much faster.
DID YOU TAKE OFF THE DOORS AND DRAWERS TO PAINT?
At first, I thought we were going to have to take the doors off to paint the cabinets and remove the drawers but it wasn't necessary. We were able to leave them on (which saved a lot of time) to do all of the painting since we didn't need to do any sanding! Just be sure to tape everything off first.
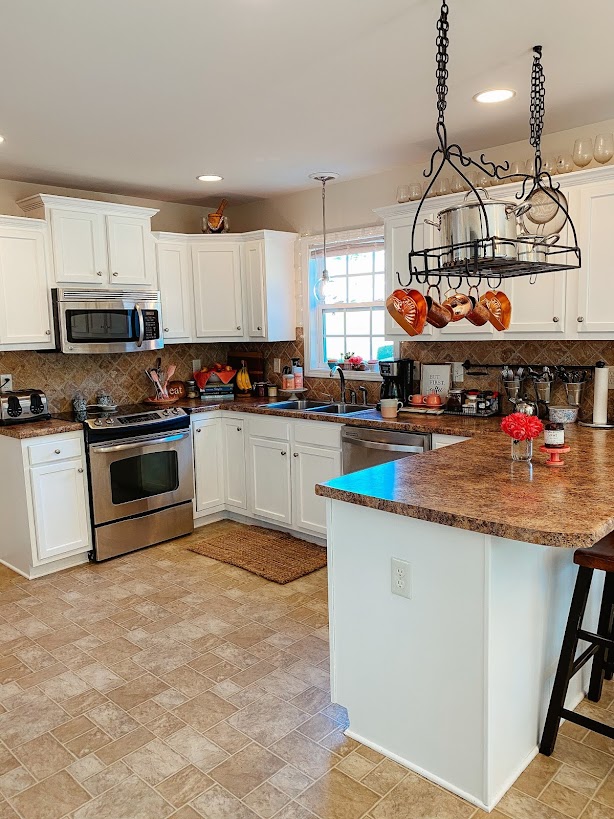
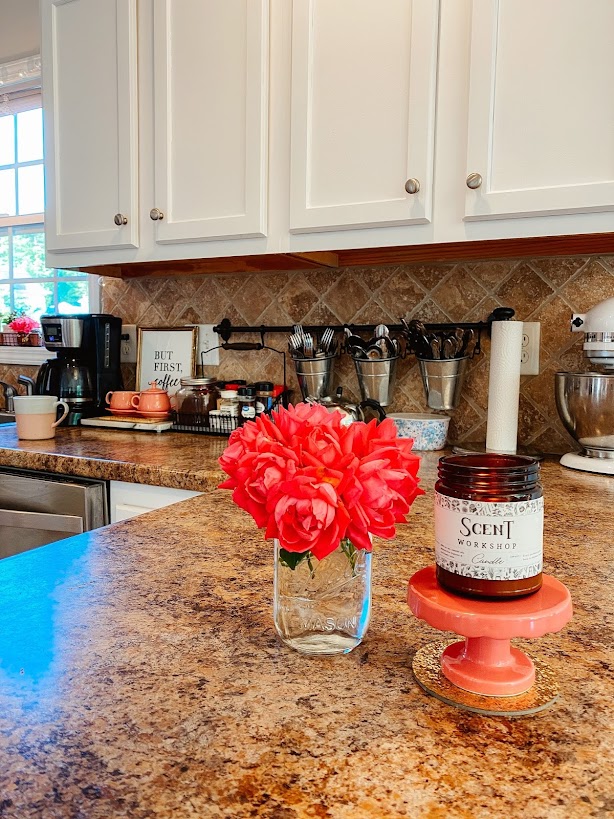
And... this is the AFTER! Doesn't it look like a brand new space?! The white paint instantly brightened up the room and really just made it feel bigger, too.
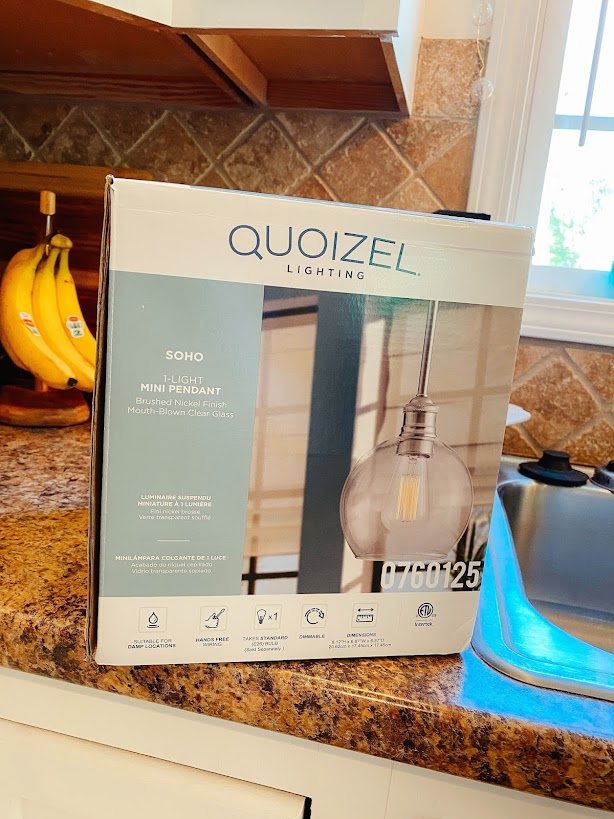
We had considered changing out the hardware but it was more budget friendly to keep what we had plus I really liked the way the current hardware looked with our appliances. The finishing touch for this kitchen refresh was adding this
mini pendant light above the sink! I am obsessed with light (just ask my husband) and I really wanted more light over the sink. I also just really love pendant lights and vintage bulbs, too! I feel like the new lighting was just the icing on the cake!
IS IT HARD TO CHANGE RECESSED LIGHTING TO A PENDANT LIGHT?
Honestly, this question would be best answered by my husband because I had zero to do with the installation of this light. Again, I'm the creative director, lol! But, I was there for moral support so I can share from my point of view. We have recessed lighting in our kitchen and there was a can right above our sink. I knew it was possible to do a pendant light there but I just wasn't really sure how to go about it. Well, we got the light fixture and got home, thinking it would be a simple switch. Nope, you have to have a recessed light converter kit so Josh had to go back out to get one. He's not an electrician but he was able to follow the directions and successfully install the light. There were definitely some frustrations along the way but it wasn't super complicated; more tedious than anything. It took a couple of hours total to figure everything out and get it up. He's so proud of his handy work and I love how it gives the space even more light!

Thanks so much for visiting! Let me know if you have any more questions!


.jpg)


.jpg)
.jpg)
.jpg)


